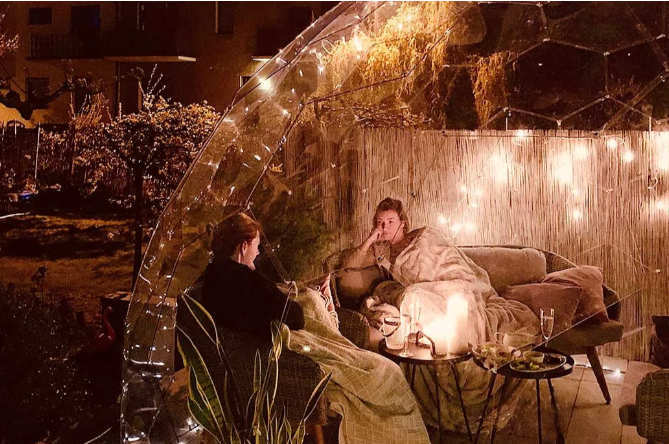
Cool Outdoor Space: Greenhouse? Sunroom? Sun Dome!
A cool outdoor space is really important to me in winter and if that’s what you are also interested in, look no further. Or should I say warm cool outdoor space? Because it’s a greenhouse or a sunroom or a combination of both – a sun dome. And with a very low-grade heater (we use one meant for a greenhouse), you can sit in it all year in any climate. I’ve seen lots of photos of them in places where it snows. It’s a garden pod, a garden igloo, a dome – we call our dome many things. And we love it.

Made with European Flair
And this is a complete DIY. Do you believe it? We did it. Two of us, and we are not spring chickens, either. It’s 100 SF, waterproof, windproof and yes, DIY. Hypedome is the company that makes these incredible sun domes in Poland. I’ve linked to their very comprehensive website at the bottom of the story, as well as throughout the story. I highly recommend this company, and this product (and no, I don’t earn a dime for saying that). I even have coupon codes – sent with the dome as give-outs for friends and family – that will get you a 15% discount, so do reach out by email if you want to purchase a dome and I’ll share a code. I’ve only got three of them, so this is a time-limited offer 🙂
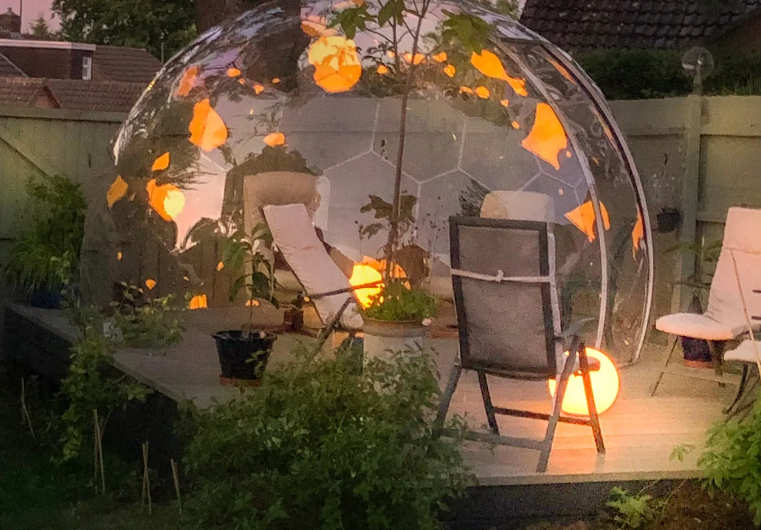
A blog that helps a great deal
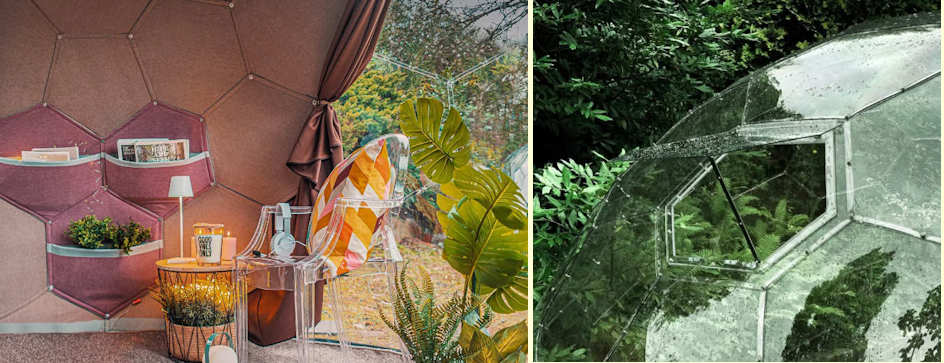
Their blog is also incredible. Many ideas and DIY How-to articles for monetizing the domes if that’s your thing. Dining dome, glamping dome, Air BnB — lots of ideas and killer photographs. Some of you may think that ordering something this complex from Europe is not a good idea because the vendors are so far away. But seriously, this is one of the best-run companies that I have had the pleasure to work with. Just go through their website. You can tell.
It all started on Facebook
Our story begins on Facebook – yes, it was a Facebook ad that alerted me. And immediately, I thought: What a cool outdoor space. And six weeks later, here we are. That’s all it took from setting up the appointment on zoom for a sales pitch, then ordering, delivery all the way from Poland, delivery via Fed-Ex, then DIY construction. Put together by just two of us silly seniors. Barely seniors. Decidedly silly. But we wanted one.
The beginning of our cool outdoor space
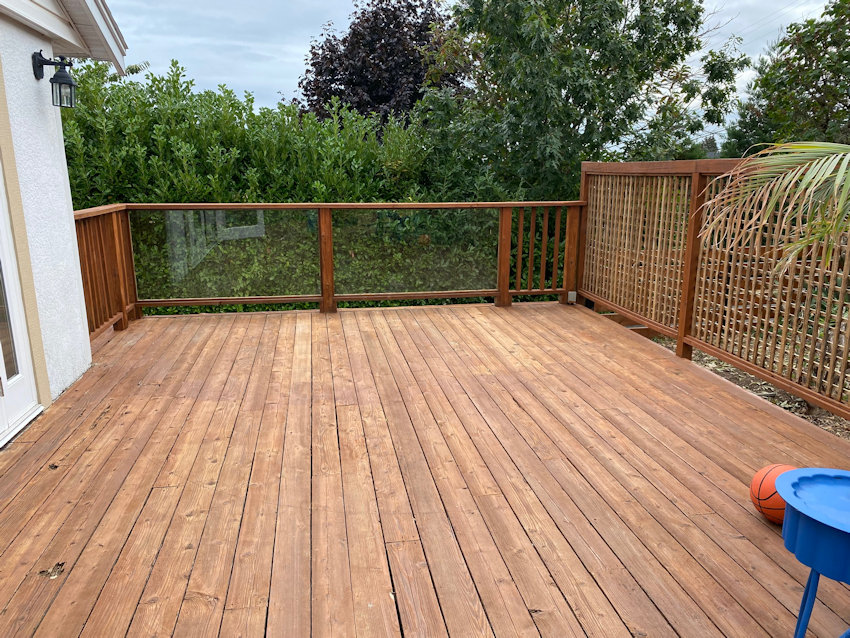
This was our blank canvas, where we would install our HypeDome – 11 ft diameter, 100sf interior. So, after seeing a live walk-through on Zoom (from Poland), we decided to order. Our total price, including two windows (optional), a special base piece to allow an electric cord, waterproof flooring and then custom choir rug, LED lights around the bottom and a sunshade that magnetically applies from inside for shade and more privacy (as required), including shipping, customs clearance, all duty and taxes — was under $7,000 CAD, and you can finance them. We had some coupons (and I have some left if anyone wants one, with no expiry date, I just have to assign you an exclusive number, just email me).
There are three sizes available, one slightly smaller than ours, one slightly larger.
The manual is very helpful
Ok, so we had a spot for the dome to go. We ordered, and we waited. And fed ex delivered *most* of our boxes a week later (one took a bit longer but was stuck in Germany for some reason). Pretty darn fast, anyway.
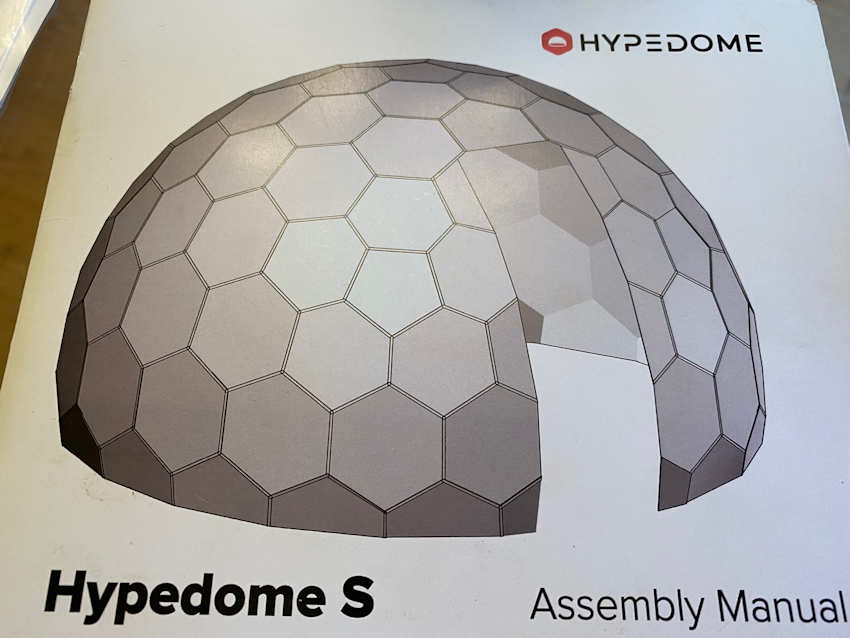
There are manuals, there are videos. It’s not easy but if you figure it out before you start, it is a lot easier. And it’s not rocket science (but it’s also not playing hoops in the yard, LOL). These were the boxes:
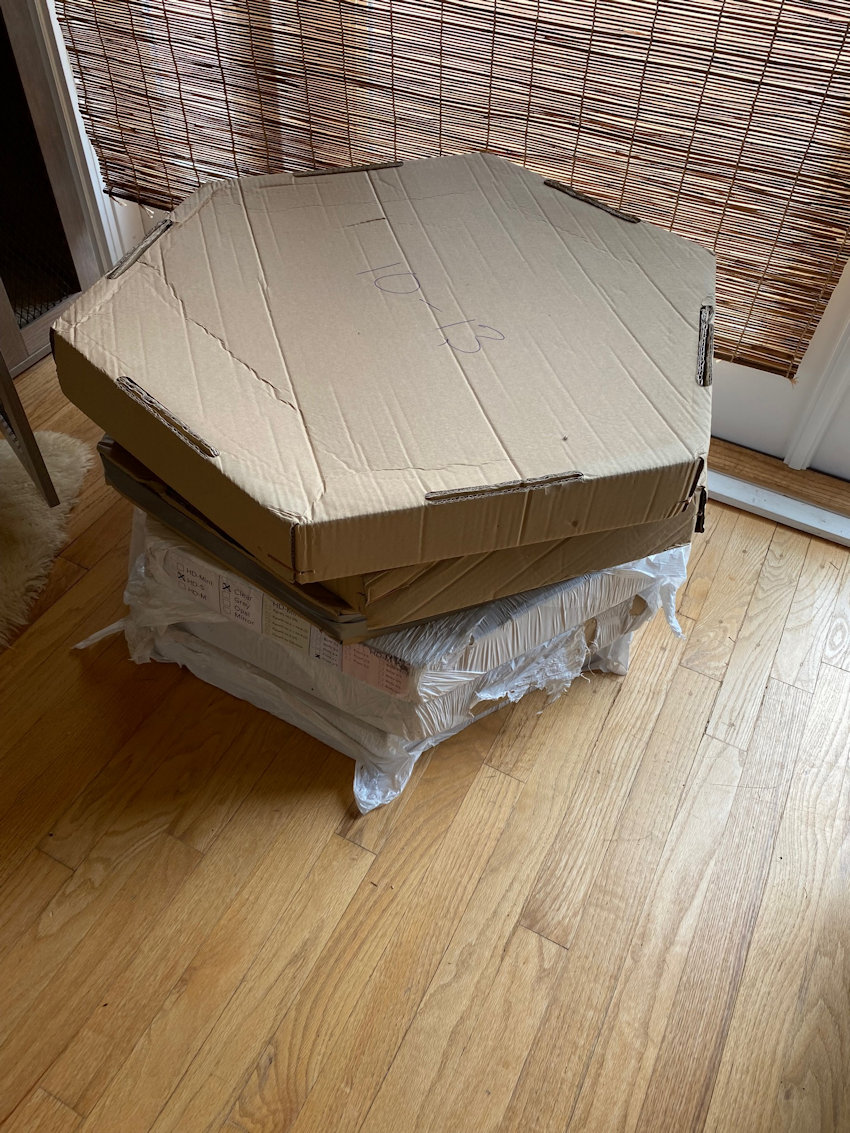
We moved the boxes inside while we waited for the last box to arrive. Normally it rains here in October (Vancouver Island) but we were very fortunate and the sunshine held through the whole building process of our cool outdoor space. We kept that vision in our heads the whole time, “cool outdoor space”, coming up.

They really thought out the packaging well
I could lift all the boxes myself, and the boxes of panels really were not heavy. I think it’s made out of the same material they use to make airplane windows. It’s extremely sturdy. And relatively lightweight.
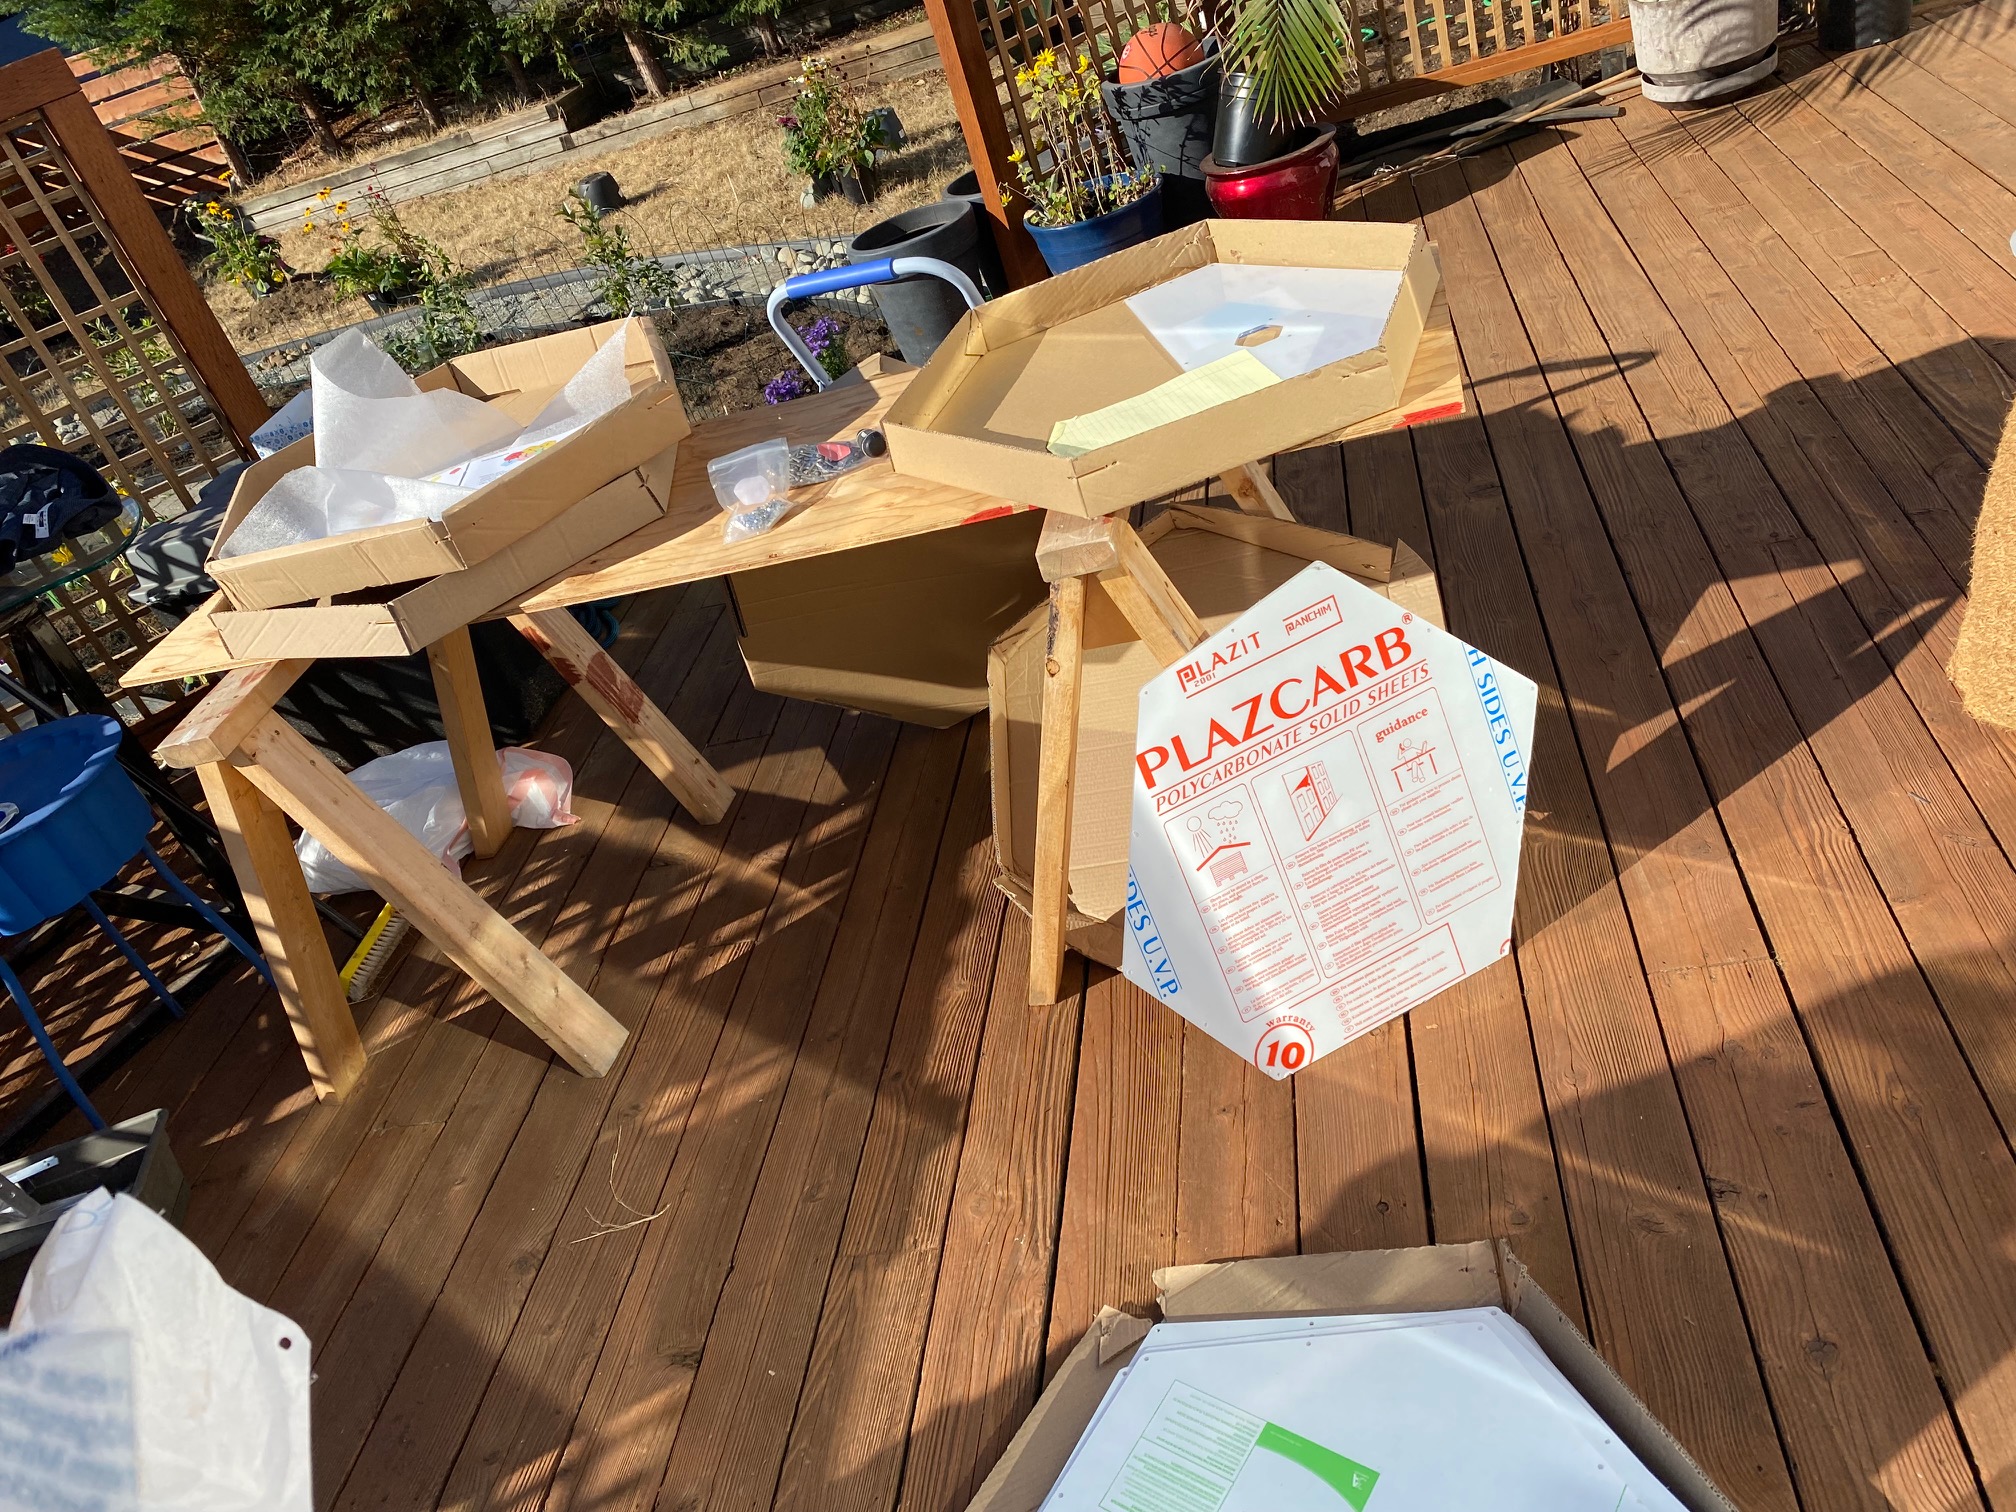
The hexagon poly pieces come in not only eight different shapes, but different ends go up at different times. It’s all clearly laid out with numbers and letters and the manual is very well organized.

The manual is easy to understand
The manual contains lots of help – well laid out, perfect English, and everything they do is very professional. It’s helpful to check the panels off, as you see above, as you attach them. Otherwise, it could be very confusing, very easily. But that would be your own fault ???.

Organized by shapes, colors, numbers, letters
The shapes are also organized by number and coloured stickers, then they have letters on them. Some instructions will say “B” faces up, others indicate “between c and d” and so on. So you really do have to pay attention but when you do, it fits together like a puzzle.

You really do need to lay out the panels you will need for each row, and the first row has footings. Once you have the first row down, you start to understand how this will work.
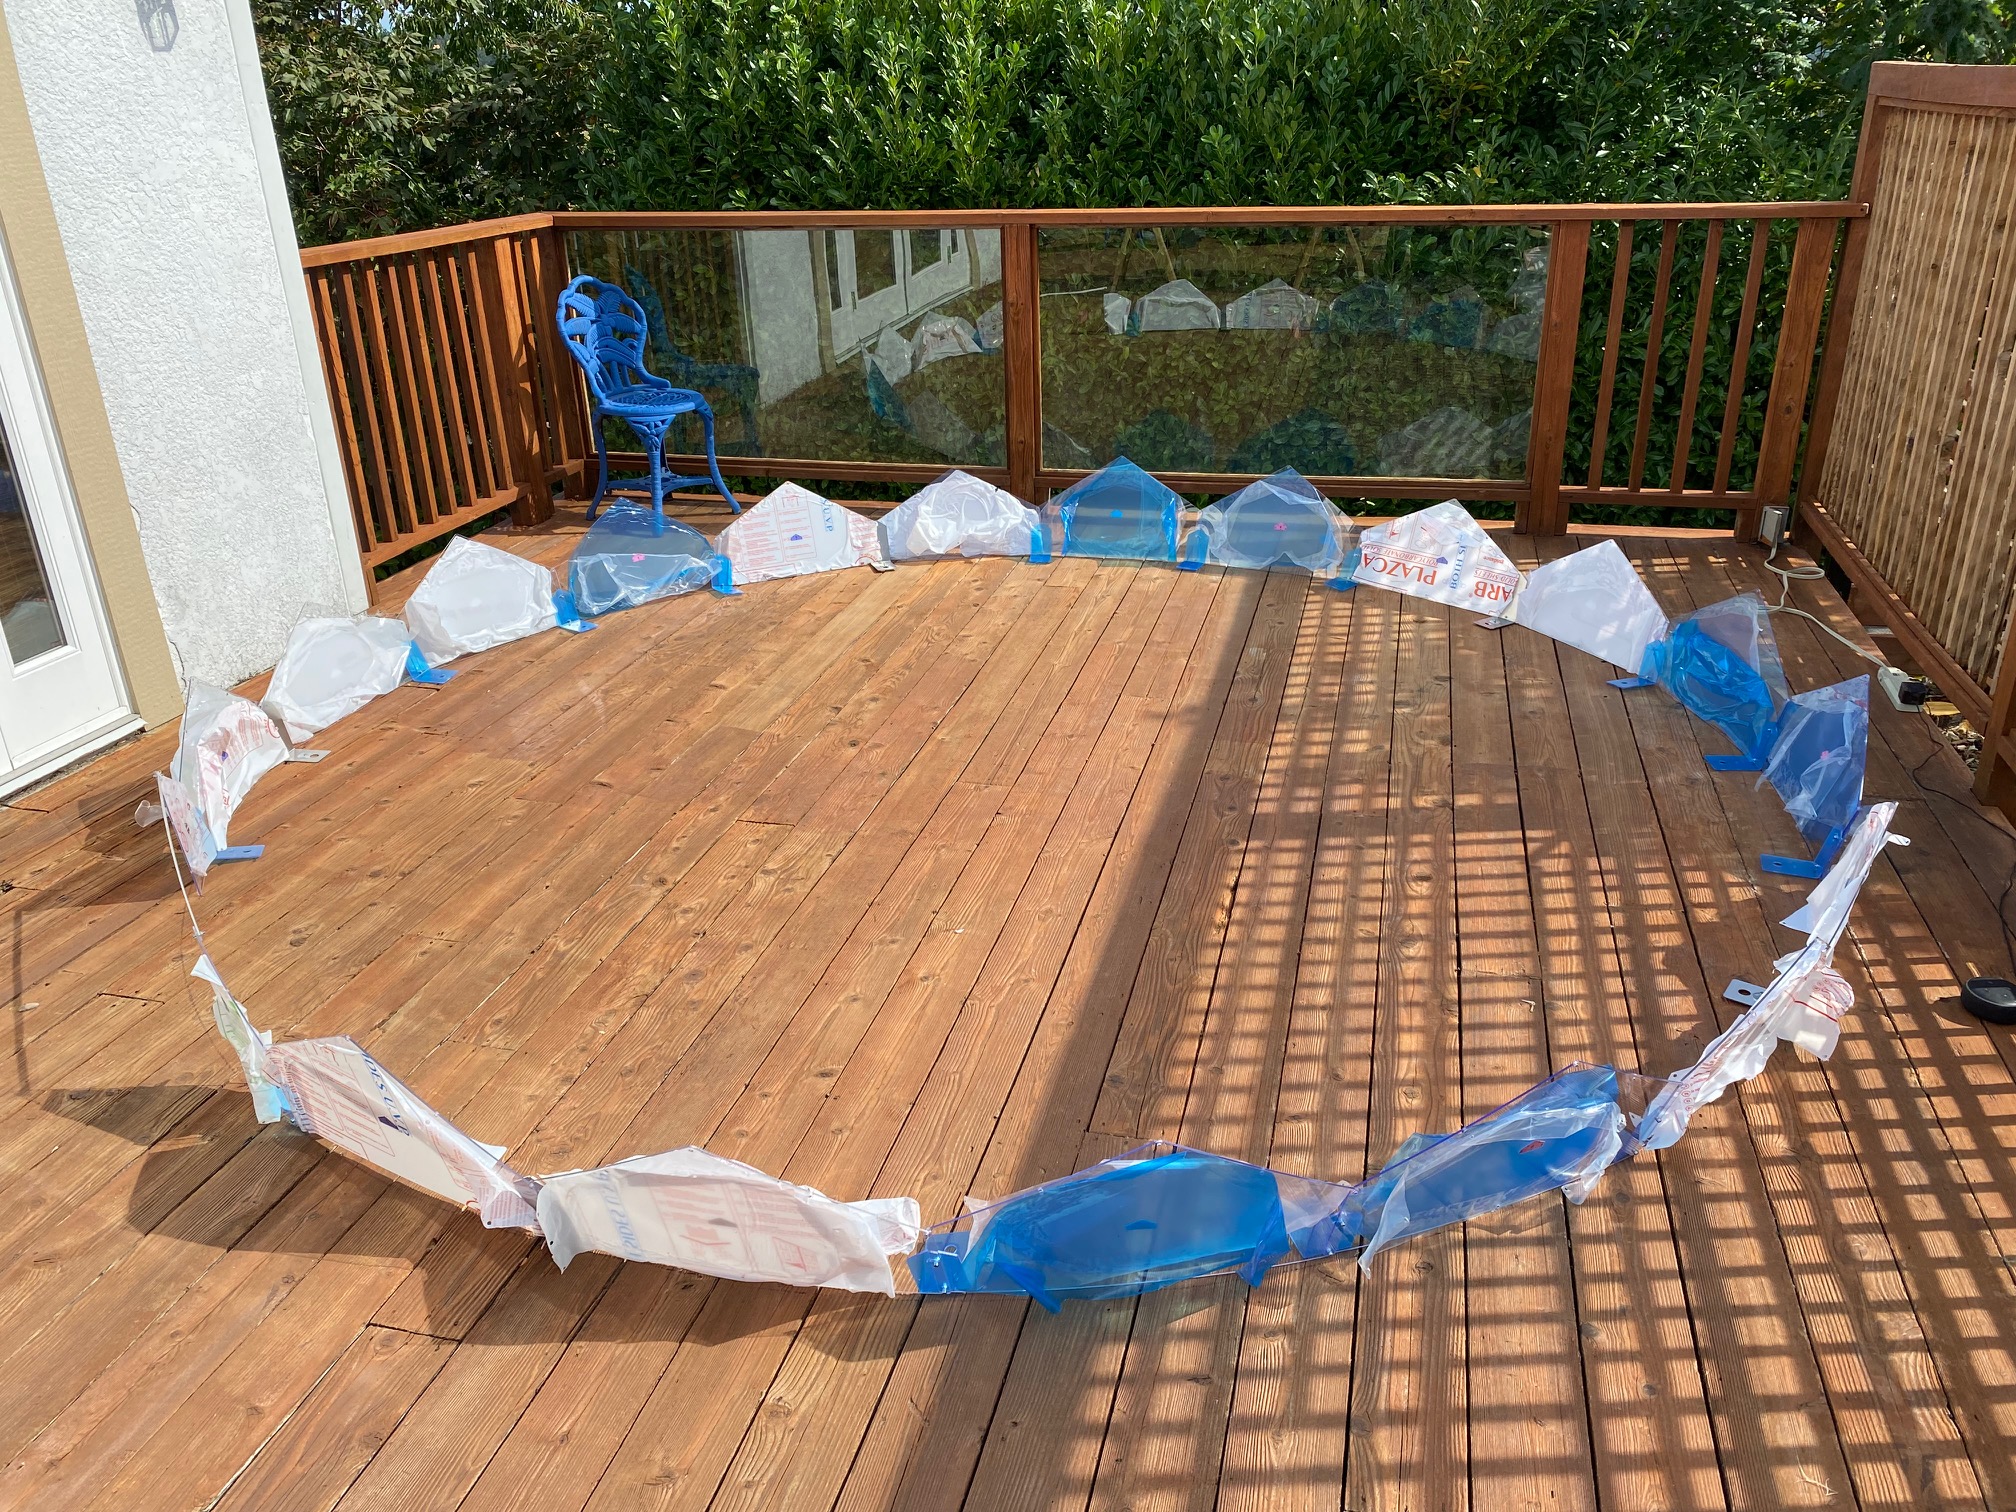
Each piece has coverings on two parts that you will eventually peel off. We peeled them back a bit and left them on to help us with what goes where (as the manual shows the whole dome and the construction, so this way, if confused, we could say, “oh look, it goes in between the two number five panels with the C pointing up). Hmmm. Maybe building a cool outdoor space wasn’t as simple as I first thought, but with some actual thought (provided by my husband as I don’t have that spacial thing), it was simple.


How will you get in the cool outdoor space you are building?
And it really started to take shape. You’re probably wondering how we’ll get in — there is a door. Right now it’s a heavy-duty zip-up door that seals very well but they are working on a proper door that can be installed as an after-market product (which we would get). At this stage, it’s off to the left (above) and you can’t see it, but we are placing aluminum holding bars horizontally after every level of panels is installed.

Moving right along
That apartment building in the back is part of what we’re trying to block out of our view 🙂 We are also redoing the front garden, it will be a mini orchard with mega fruit trees and berry bushes in a pretty small area and some cutting flowers down the path. The backyard will be a wildflower garden. This will all be a different story. But what you can see in this photo, is that each panel also has 10 (ish) stainless nuts and bolts. I’m pretty sure the manual will tell me how many panels, we didn’t count. But we were well on our way now.

This is shot from inside, you can hardly see the dome walls. That’s one of the door bars up at the top. We needed a ladder to reach the top panels from inside the dome.
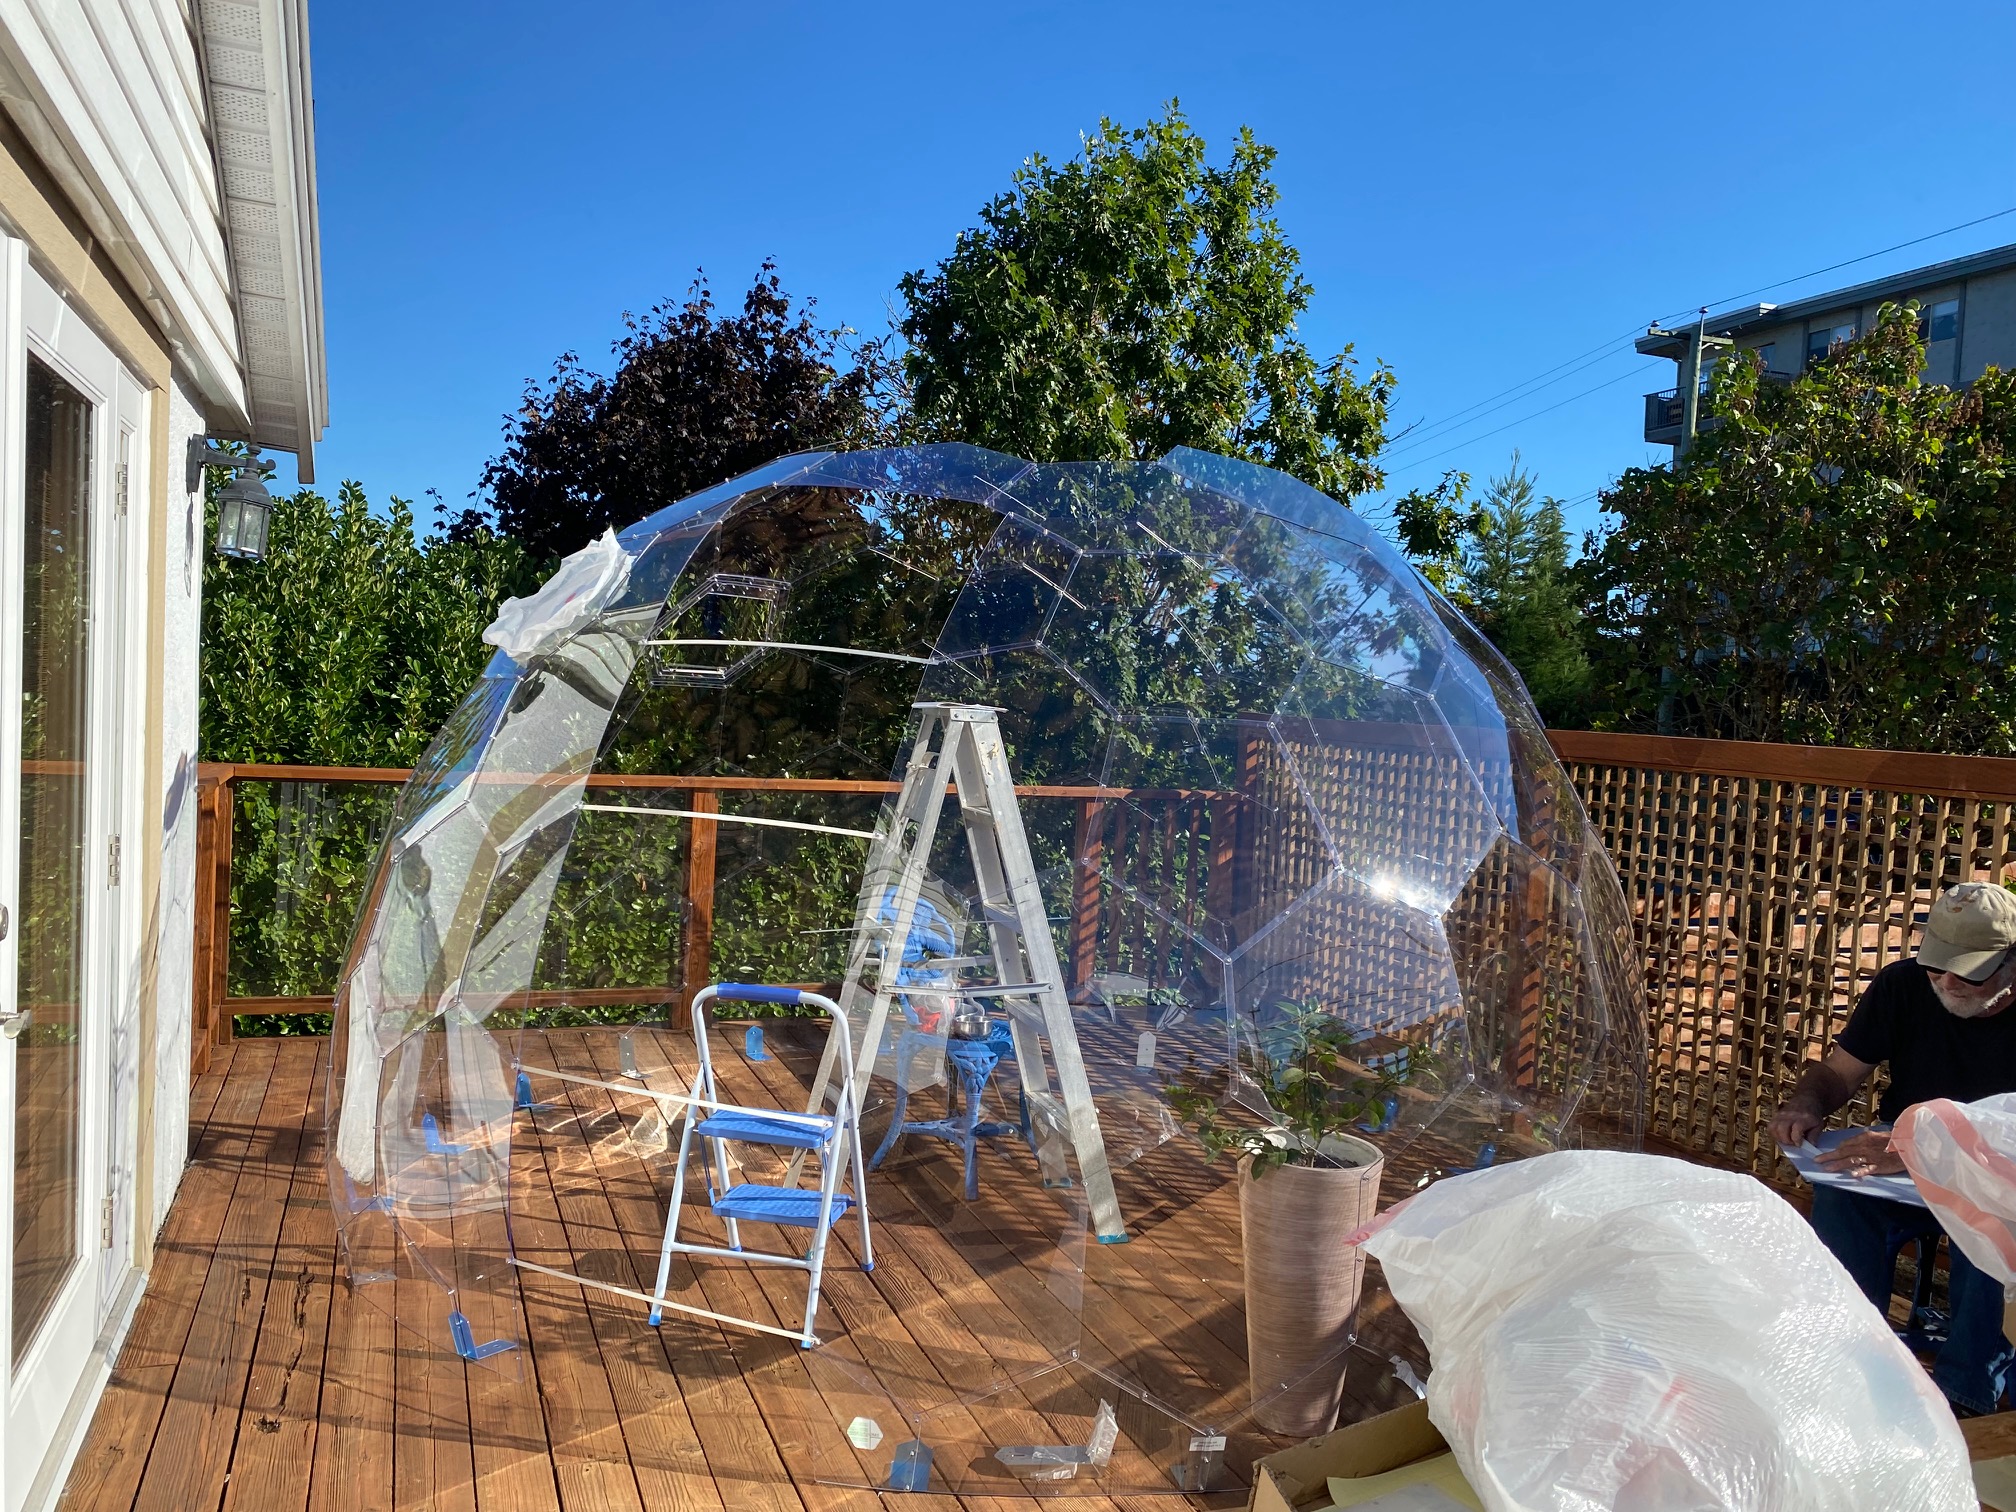
The Dome is almost complete
You can see how the door is held up during construction in this photo. Also, the hole in the top of the dome. We just had to keep going (believe me, we were tired of all those nuts and bolts by now). In fact, I think this is the point in the build where we almost killed each other but they do recommend three people and we chose to forge ahead with just two of us, and married at that 🙂

But lo and behold, we did it. We finished the main construction of our cool outdoor space. You can see that we bolted the footings to the deck in this photo. And I moved my Meyer lemon in right away, because it was October already. We’d wait and do the floors (one waterproof layer, then a custom round jute rug that we ordered with the dome). And the full door.
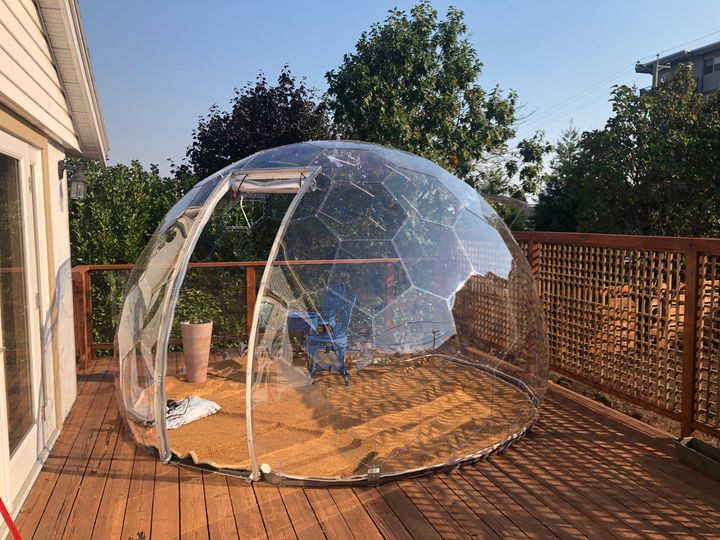
And here, we have put the door frame in, and both floor pieces (the under the carpet is a moisture barrier – it rains here all winter). We had to wait for the rug to settle as it had been wrapped up for a while.

Again, the manual is very helpful.
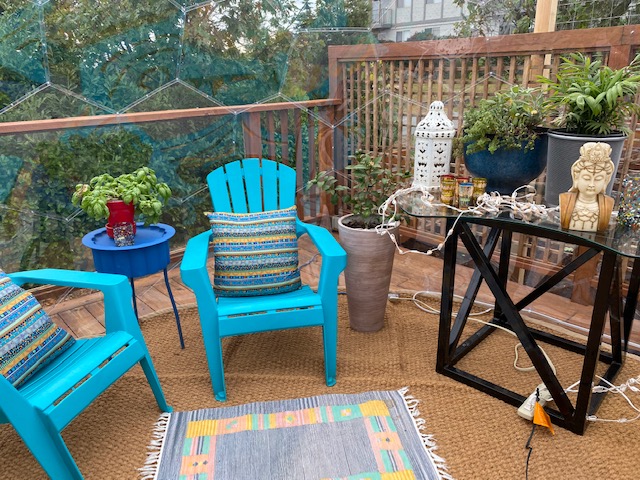 We are just starting to get it fancied up a bit and more changes will certainly come. To lemons (Meyer) and a navel orange in there for now. We’ll have more privacy cover from the garden in spring, and these plants in here will get larger over the winter. And we do have a sunblind from the company, made up of a number of magnetic fabric panel covers, which is quite ingenious.
Apps everywhere
We got an app and a piece of electronics with two sensors so we can monitor the temperature, both inside the dome and outside, from our phones as below. The app goes with the physical product, and there are many to choose from. This one is good, it’s the “ThermoPro TP357 2 pack Wireless Thermometer Hygrometer Bluetooth” and more words but that search will find it.
The screen (top is outside, bottom is inside the dome):

It’s a pretty cool app. We got it on Amazon. And so far we’re loving the dome. They also have sold many “dining domes” in Canada – from Montreal to Vancouver Island.
The Kingfisher Oceanside Resort and Spa, in Qualicum Beach (about 30 km from us on Vancouver Island), was also inspiration for us. They call them Sky Domes and you can make a reservation for Private Skydome Dining (click on the link) and check them out yourselves!

It’s magical at the Kingfisher to dine outside amongst the lights with an ocean view, just magical. You can make reservations here: Reserve now. And do it early, it’s a popular spot!
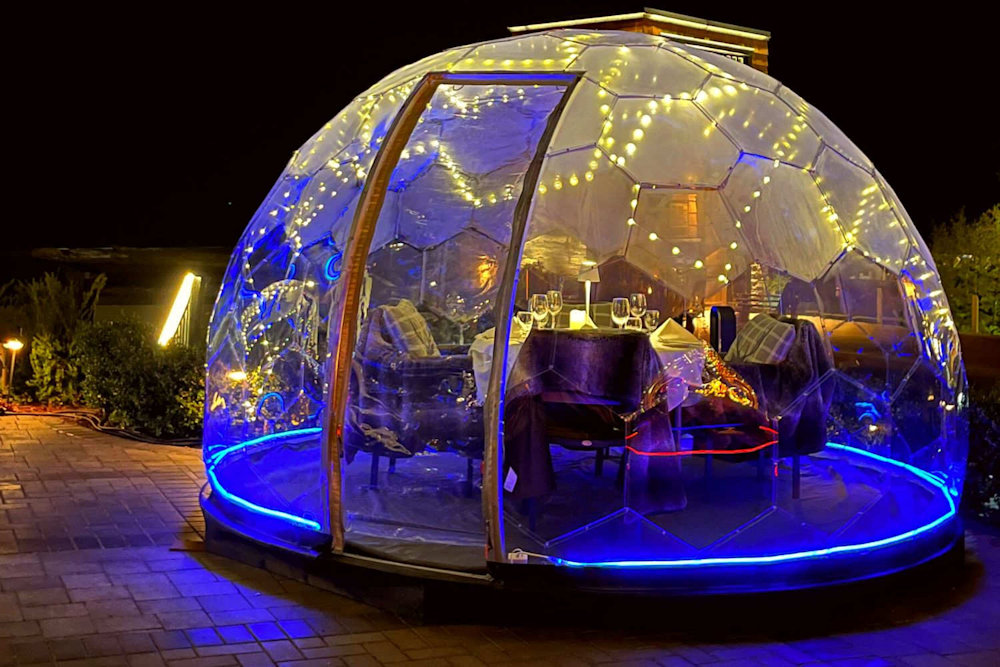
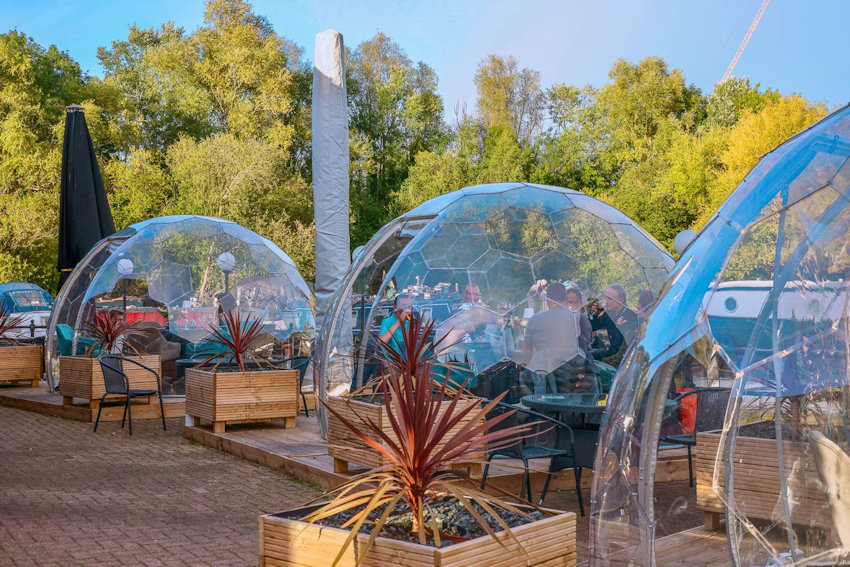
We plan to have plenty of lunches and dinners in ours. And all the rules of Al Fresco dining apply.

Options and Extras for your cool outdoor space
The company offers many options and extras, and many of their offerings are after-market so you can add them anytime. Privacy panels made of fabric that are magnetic (we got them but haven’t used them yet), and windows, which we also have (a pair) installed for ventilation.
It’s all about the lights
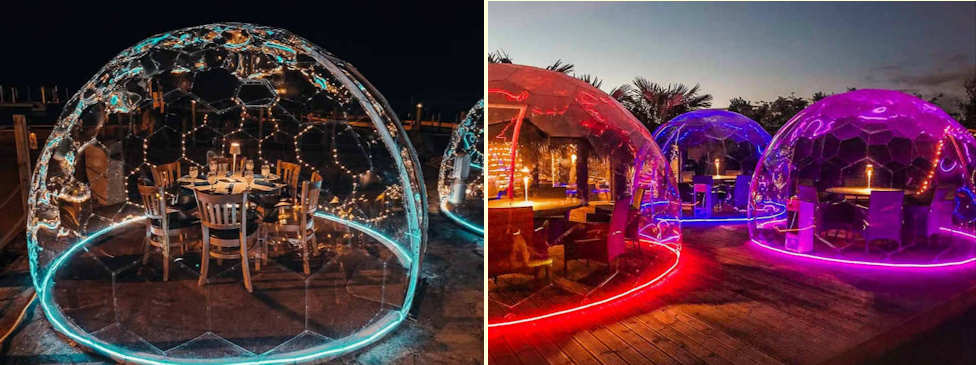
And then, the Ambient LED light strip – we have one of those too but haven’t hooked it up. As you can see, you can do elegant subdued lighting or have yourself a Tiki party — all controllable by app again.
You can also use, in addition to the Ambient set, any string lights, really. Ok, now back to our dome. We still have things to do inside, it will be ongoing. We plan to hang lanterns and lights and maybe even a few Buddha flags. It’s very nice in the day to sit among the lemon and orange trees. And I must get more (we’re trying to keep it at 15C during the night but we’ll see what that costs, they can take temps down to 6C if necessary but they’ll be much happier at 15.
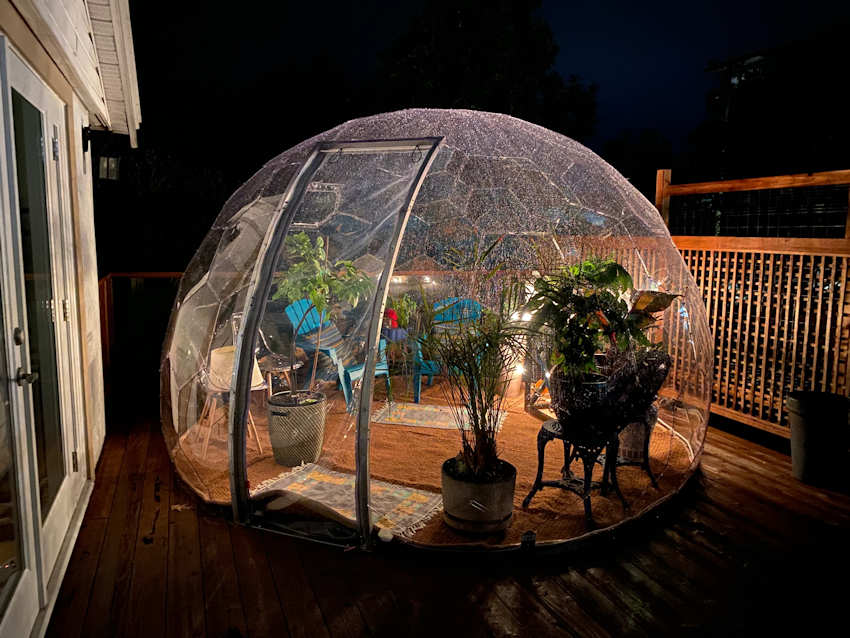
This is our dome at 5 am, while it’s still dark. I love the look.

I love to sit in it, all cozy, in the rain!
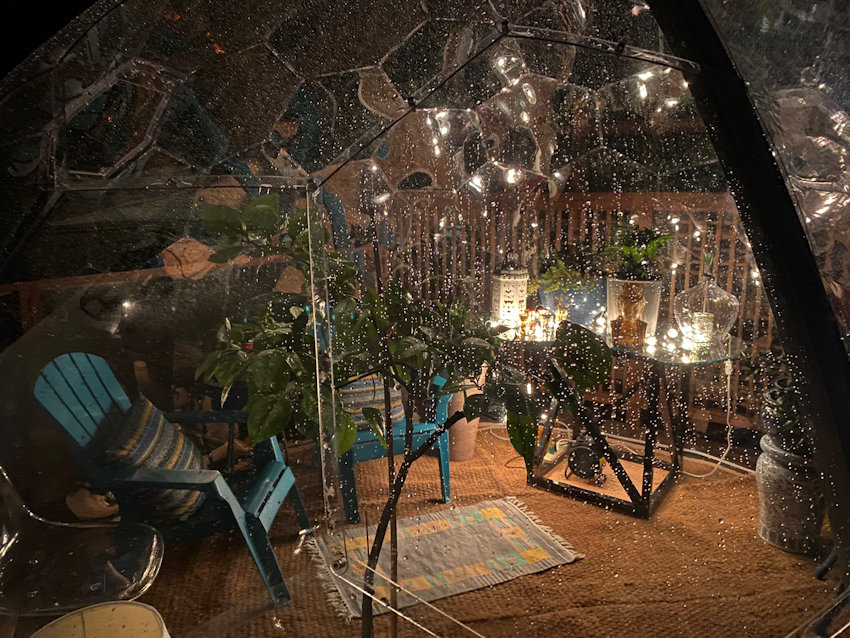
My husband is wondering if we should get another one, for the back wildflower garden once it’s done. That’s how much we love it.
Hypedome has lots more information on their site, don’t forget to contact me by email if you want a discount code! FCFS (first come, first served). I don’t get excited about many products. But I sure love this.

Here comes the Sun over our cool outdoor space
Here is the dome as the sun is coming up. I am going to add updated photos as we adjust the interior — once we install the Ambient LED light strip along the bottom of the dome, I’m going to add the conch shells (dozens) that I’ve been collecting for years. I don’t think it will do the whole dome yet so I’ll have to watch for more.
Be sure to visit their site and I’m happy to answer any questions you have – just email me.
